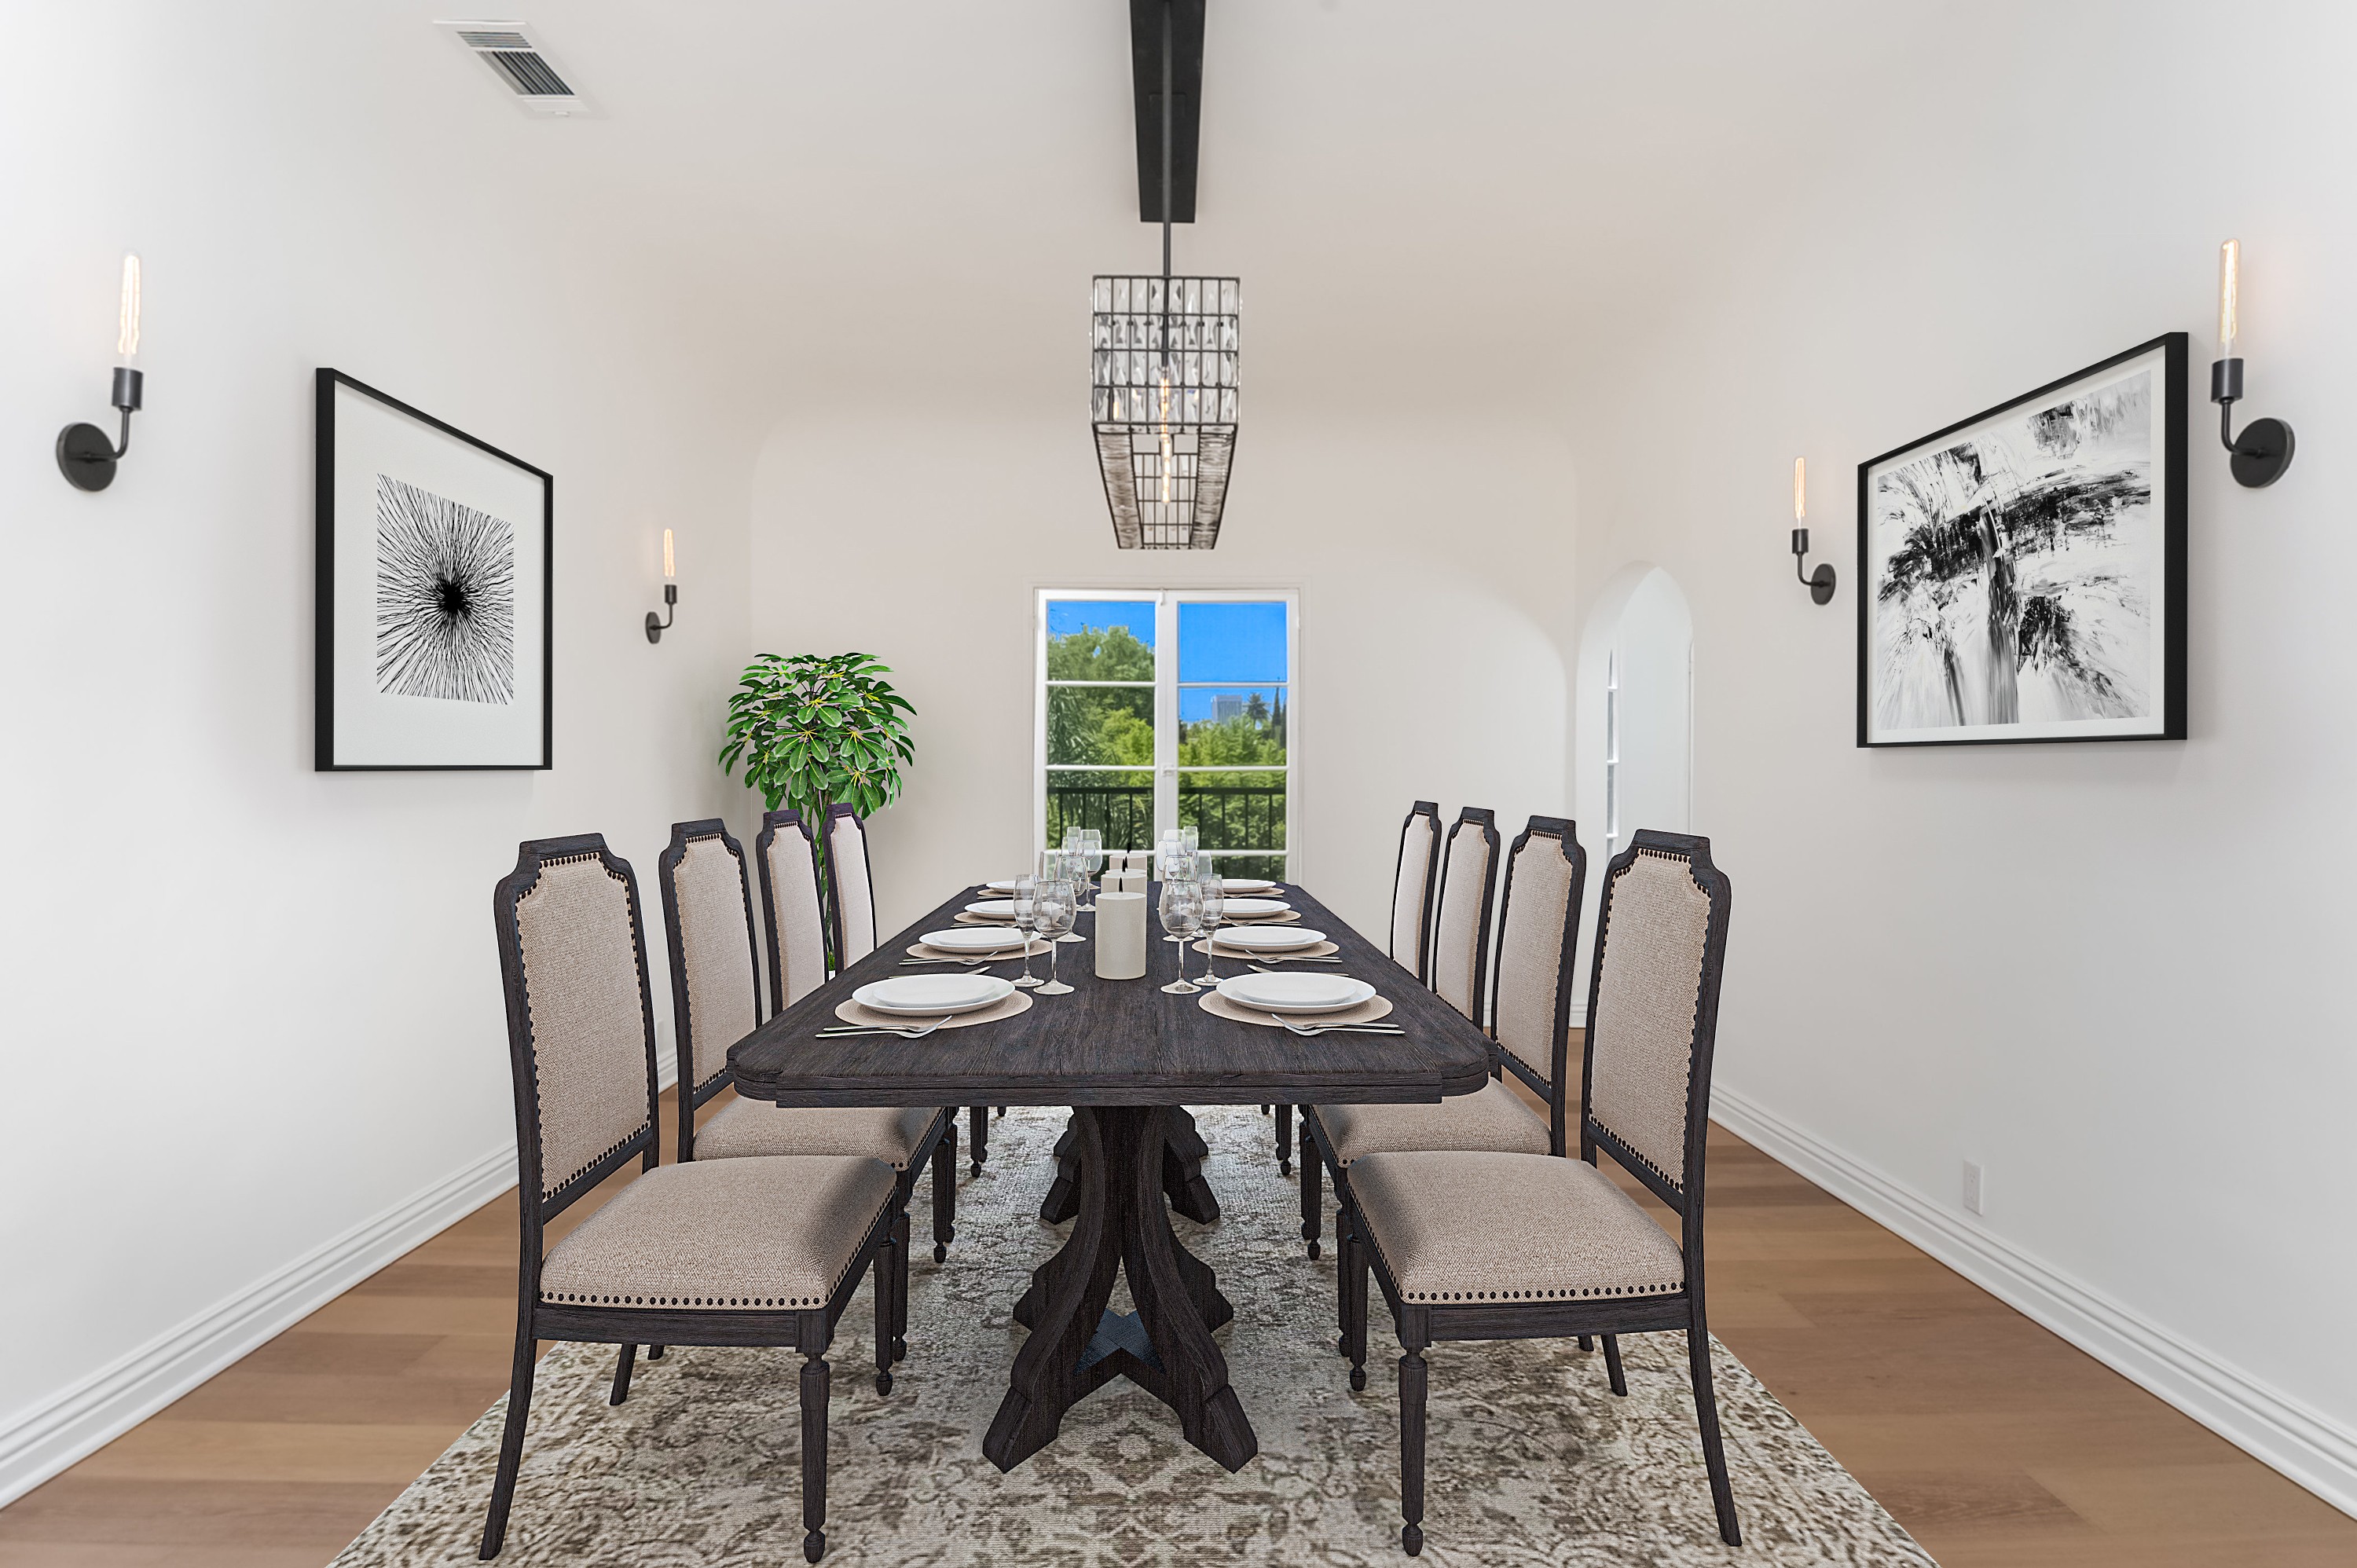
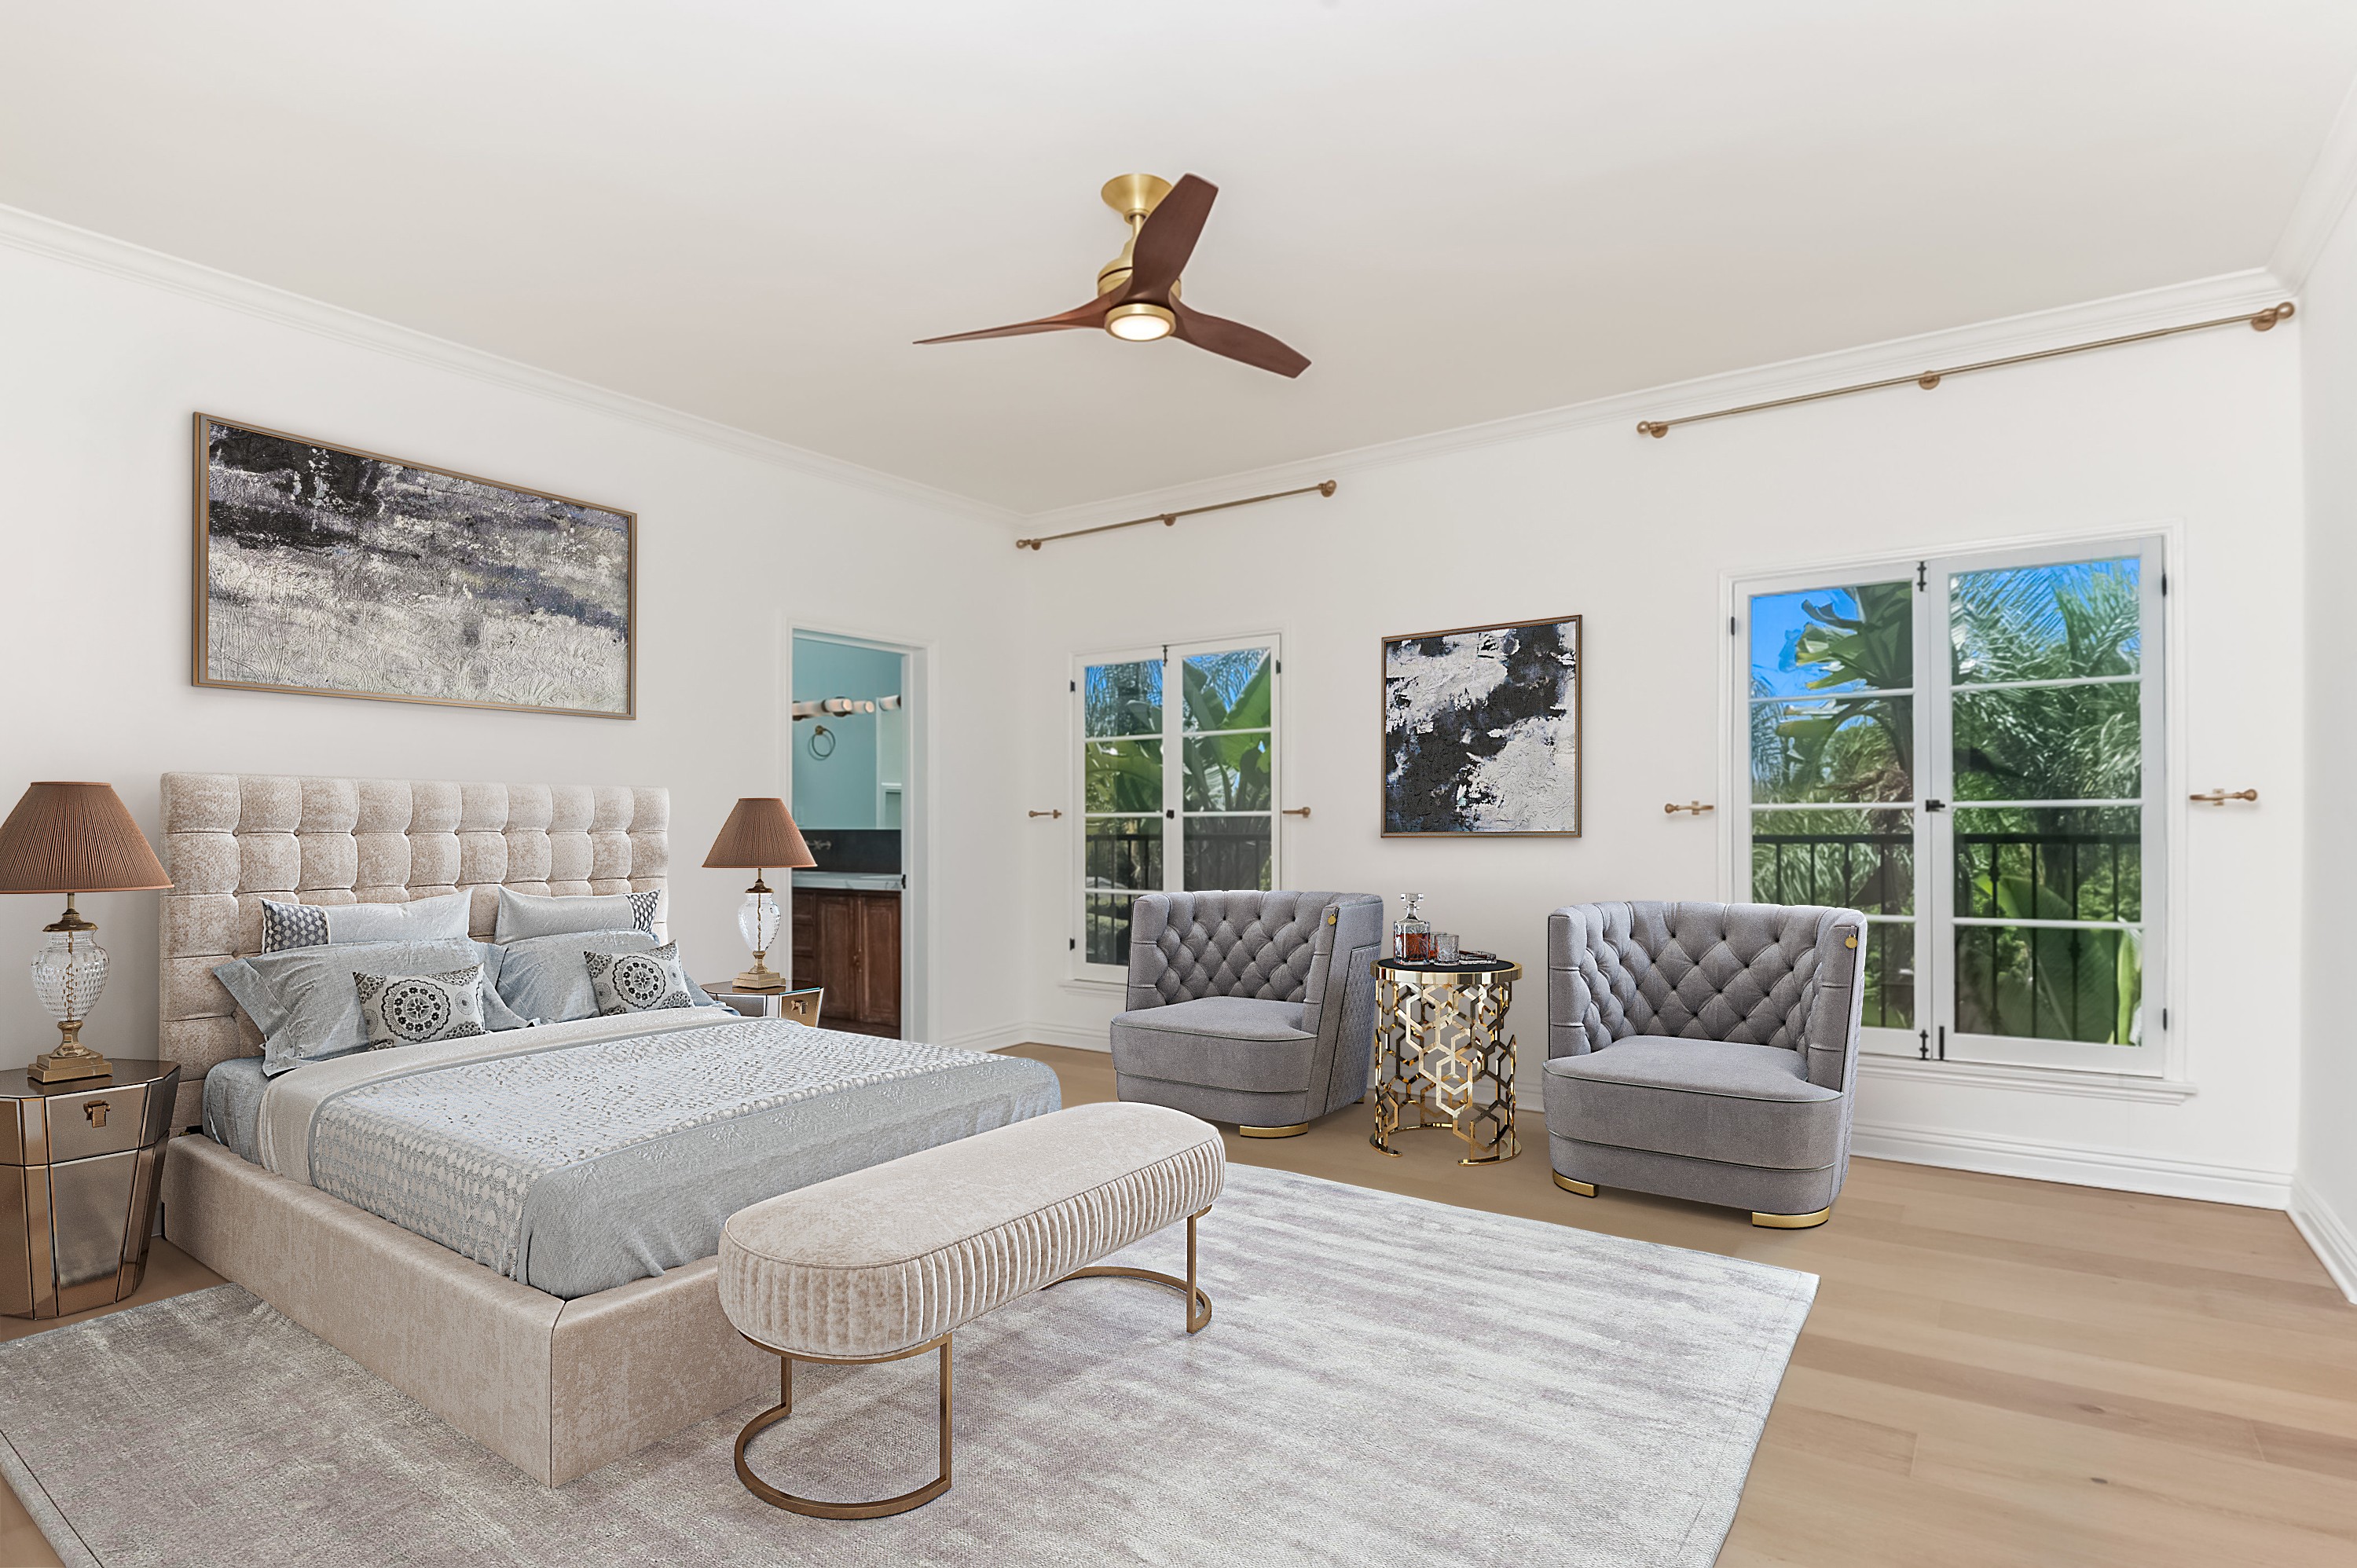
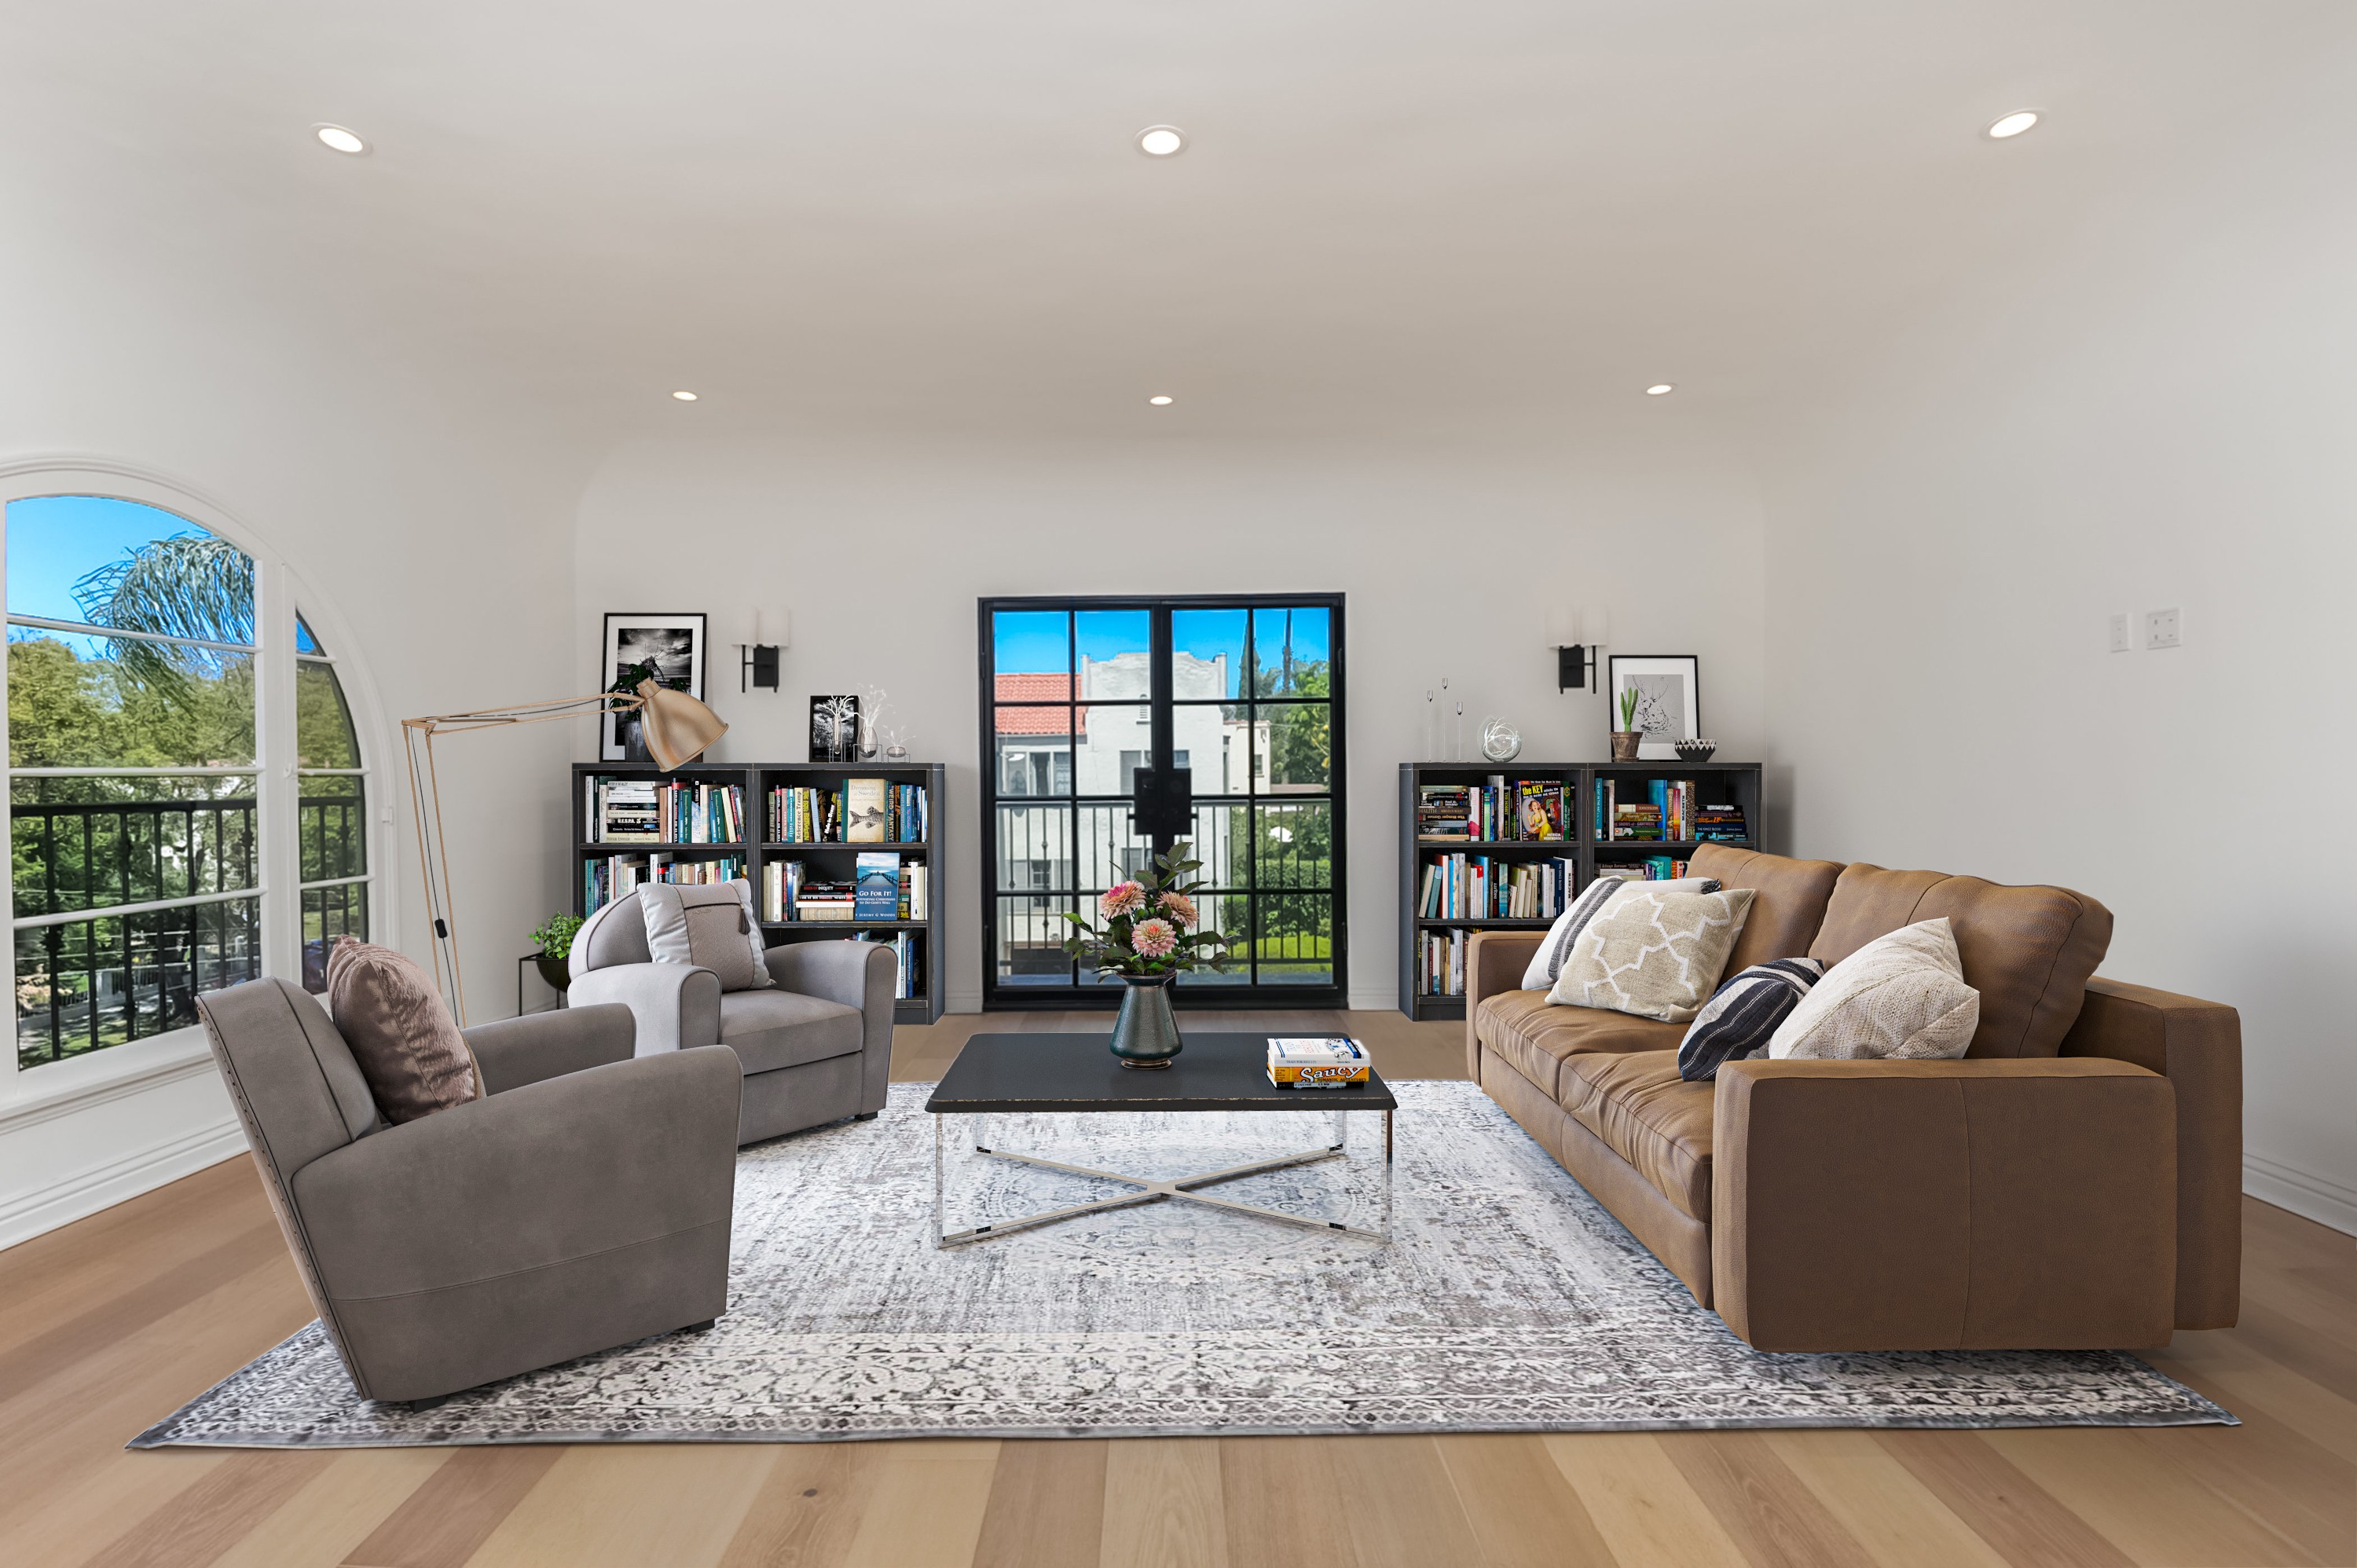
Hey there! Are you ready to make your listing photos pop? You're in the right spot! We're about to dive into the nifty world of styling and staging for listing photos. Whether you're a real estate pro or just dipping your toes into the market, this blog is your golden ticket to creating listing photos that are nothing short of show-stoppers. We'll cover everything from choosing the right decor to arranging spaces in a way that screams 'Welcome home!' to potential buyers.
Master the Art of Styling & Staging for Irresistible Listing Photos
Hey there, home sellers and real estate whizzes! Have you ever wondered why some listing photos make you go, "Wow, I need to see this place!" while others make you scroll on? Well, buckle up because we're about to unravel the magic behind styling and staging for those jaw-dropping listing photos.
First Impressions Are Everything
Let's face it, in the world of real estate, first impressions are the real deal. Your listing photos are the first thing potential buyers see, and we want their jaws to drop (in a good way!). Think of your listing photos as the ultimate first date – you've got to look your best!
The Power of Decluttering
Start with decluttering. Less is more, my friends. You want potential buyers to see the space, not your collection of fridge magnets from around the globe. Clear off those countertops, shelves, and any other surfaces. A clean, minimal space makes the buyer's imagination wild with possibilities.
Light It Up
Good lighting can make or break a photo. Natural light? Bring it on! Open those curtains and let the sunshine in. It makes spaces look bigger, brighter, and more inviting. For those darker corners, a few well-placed lamps can work wonders.
A Splash of Color
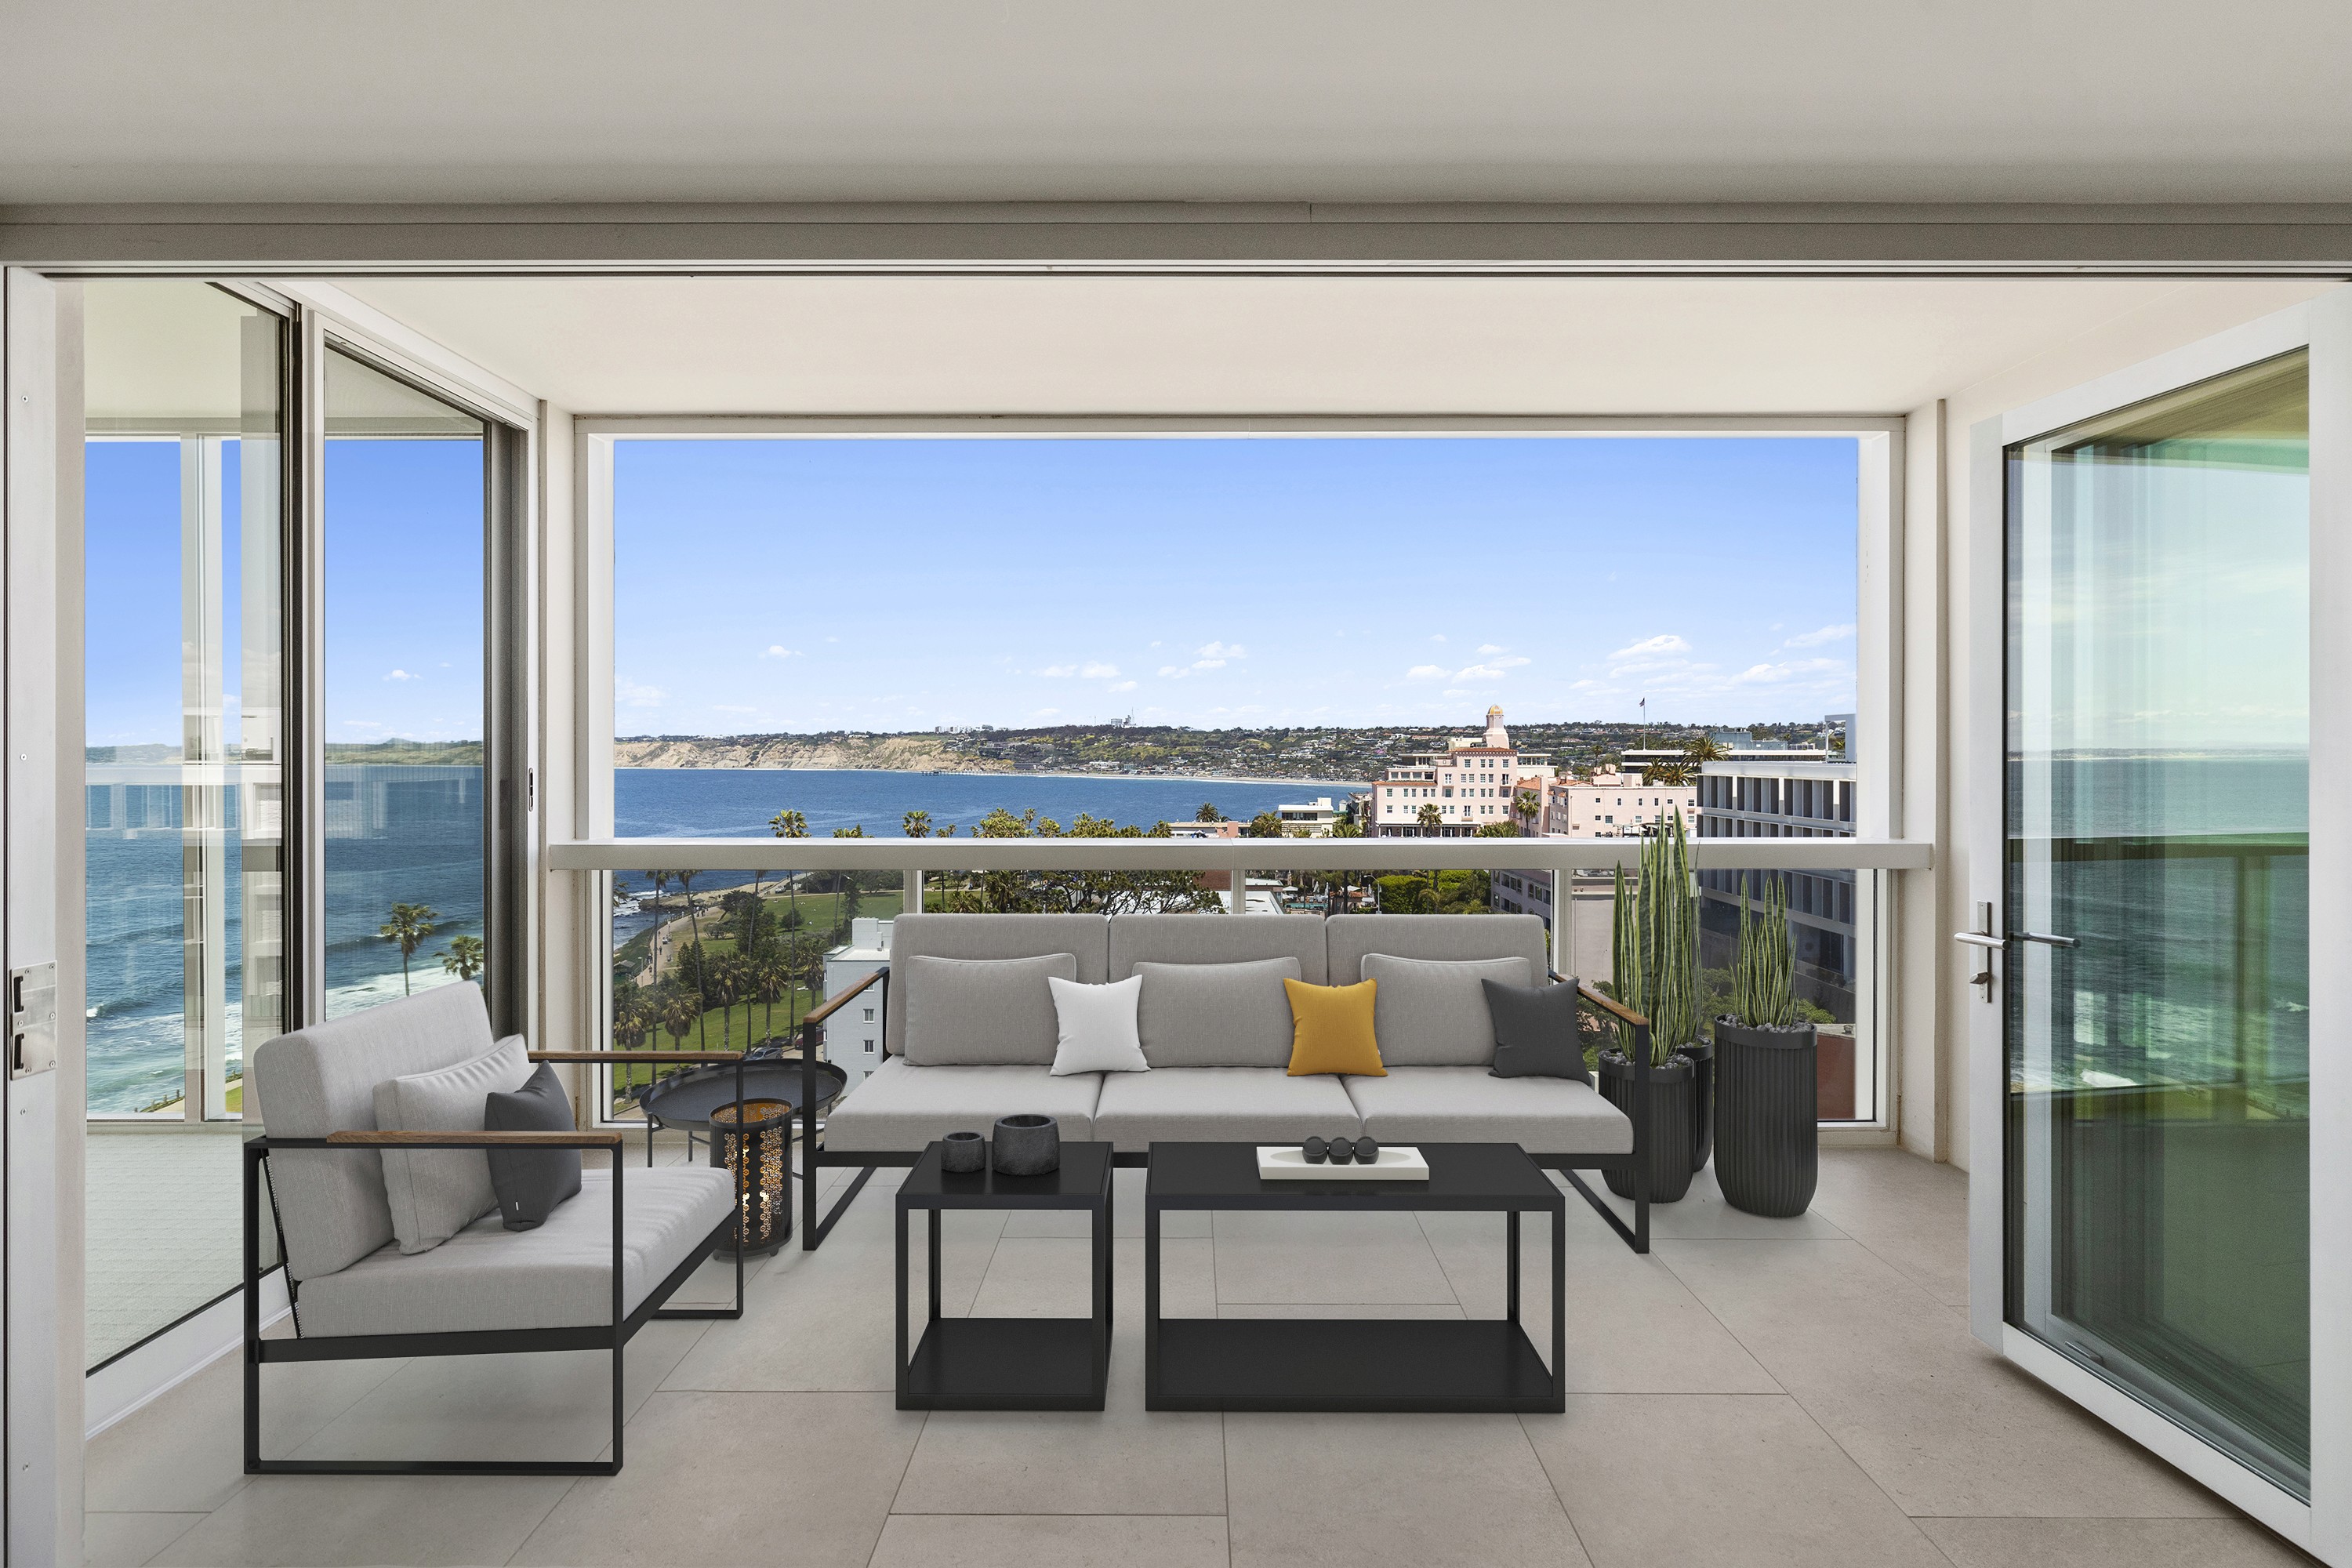
Neutral tones are safe, but a pop of color can make a photo stand out. Think of a vibrant throw pillow, a lush green plant, or a striking piece of wall art. Just don't go overboard – you're adding highlights, not painting a rainbow.
Furniture: Less Is More
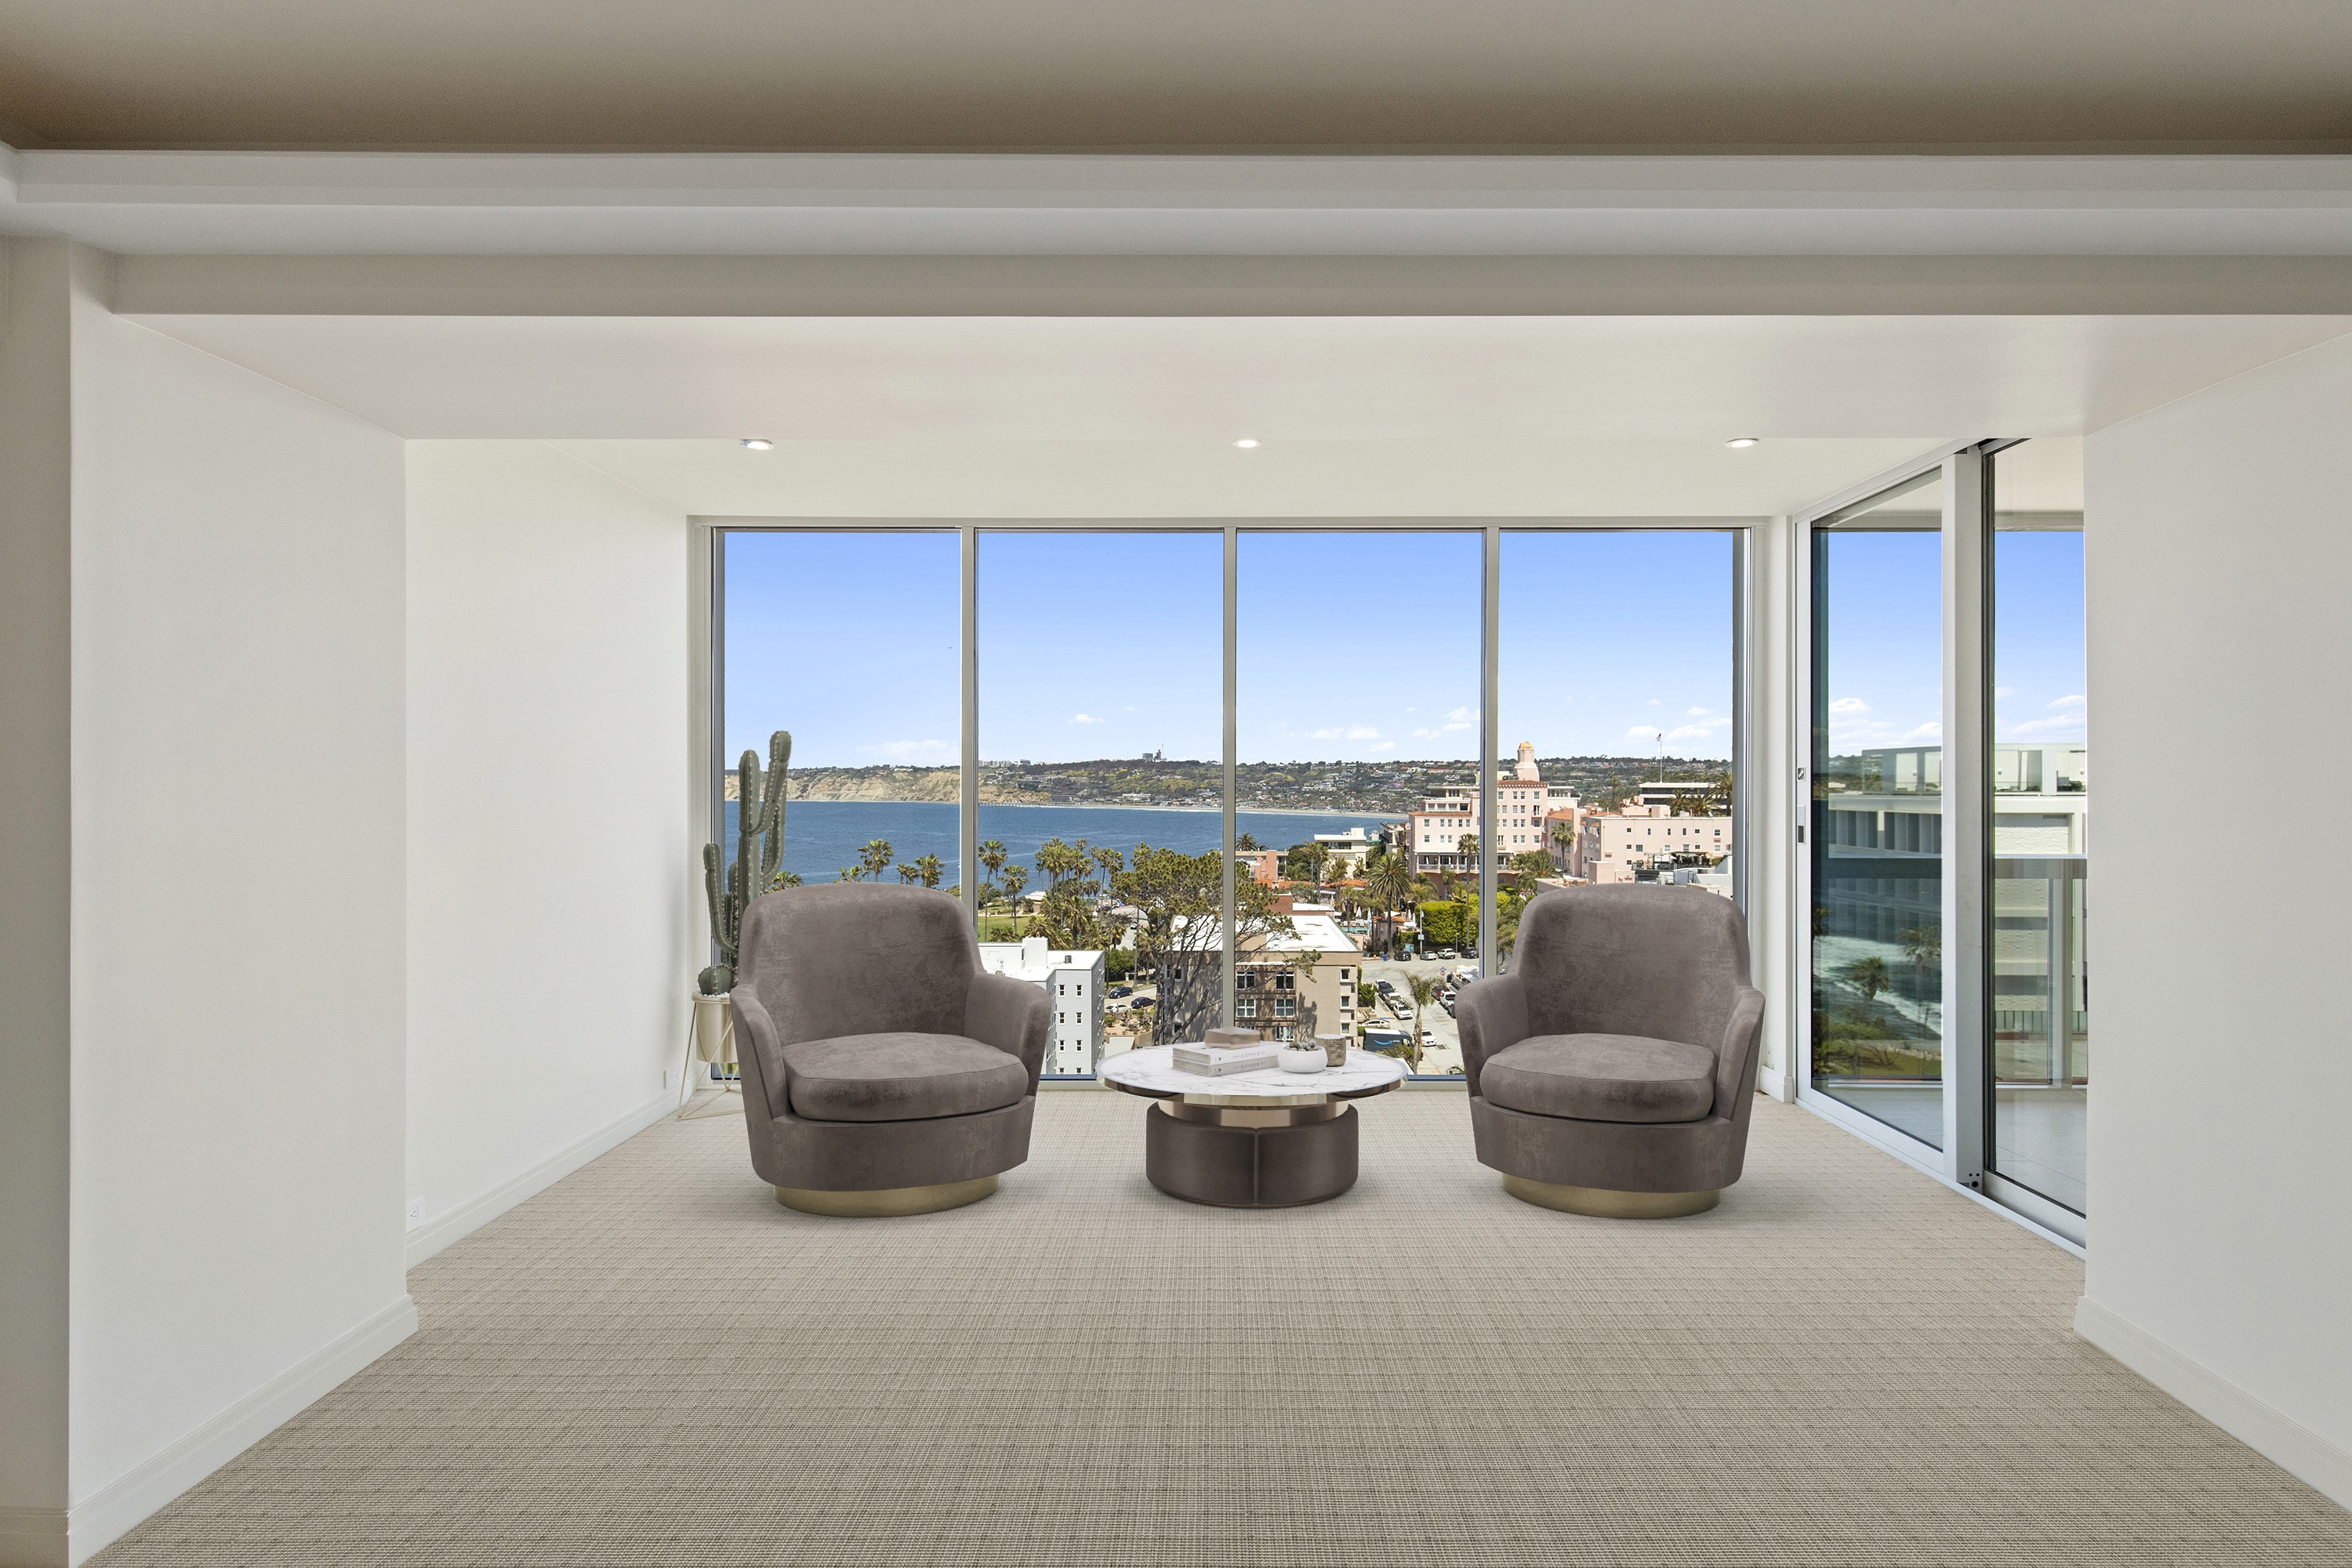
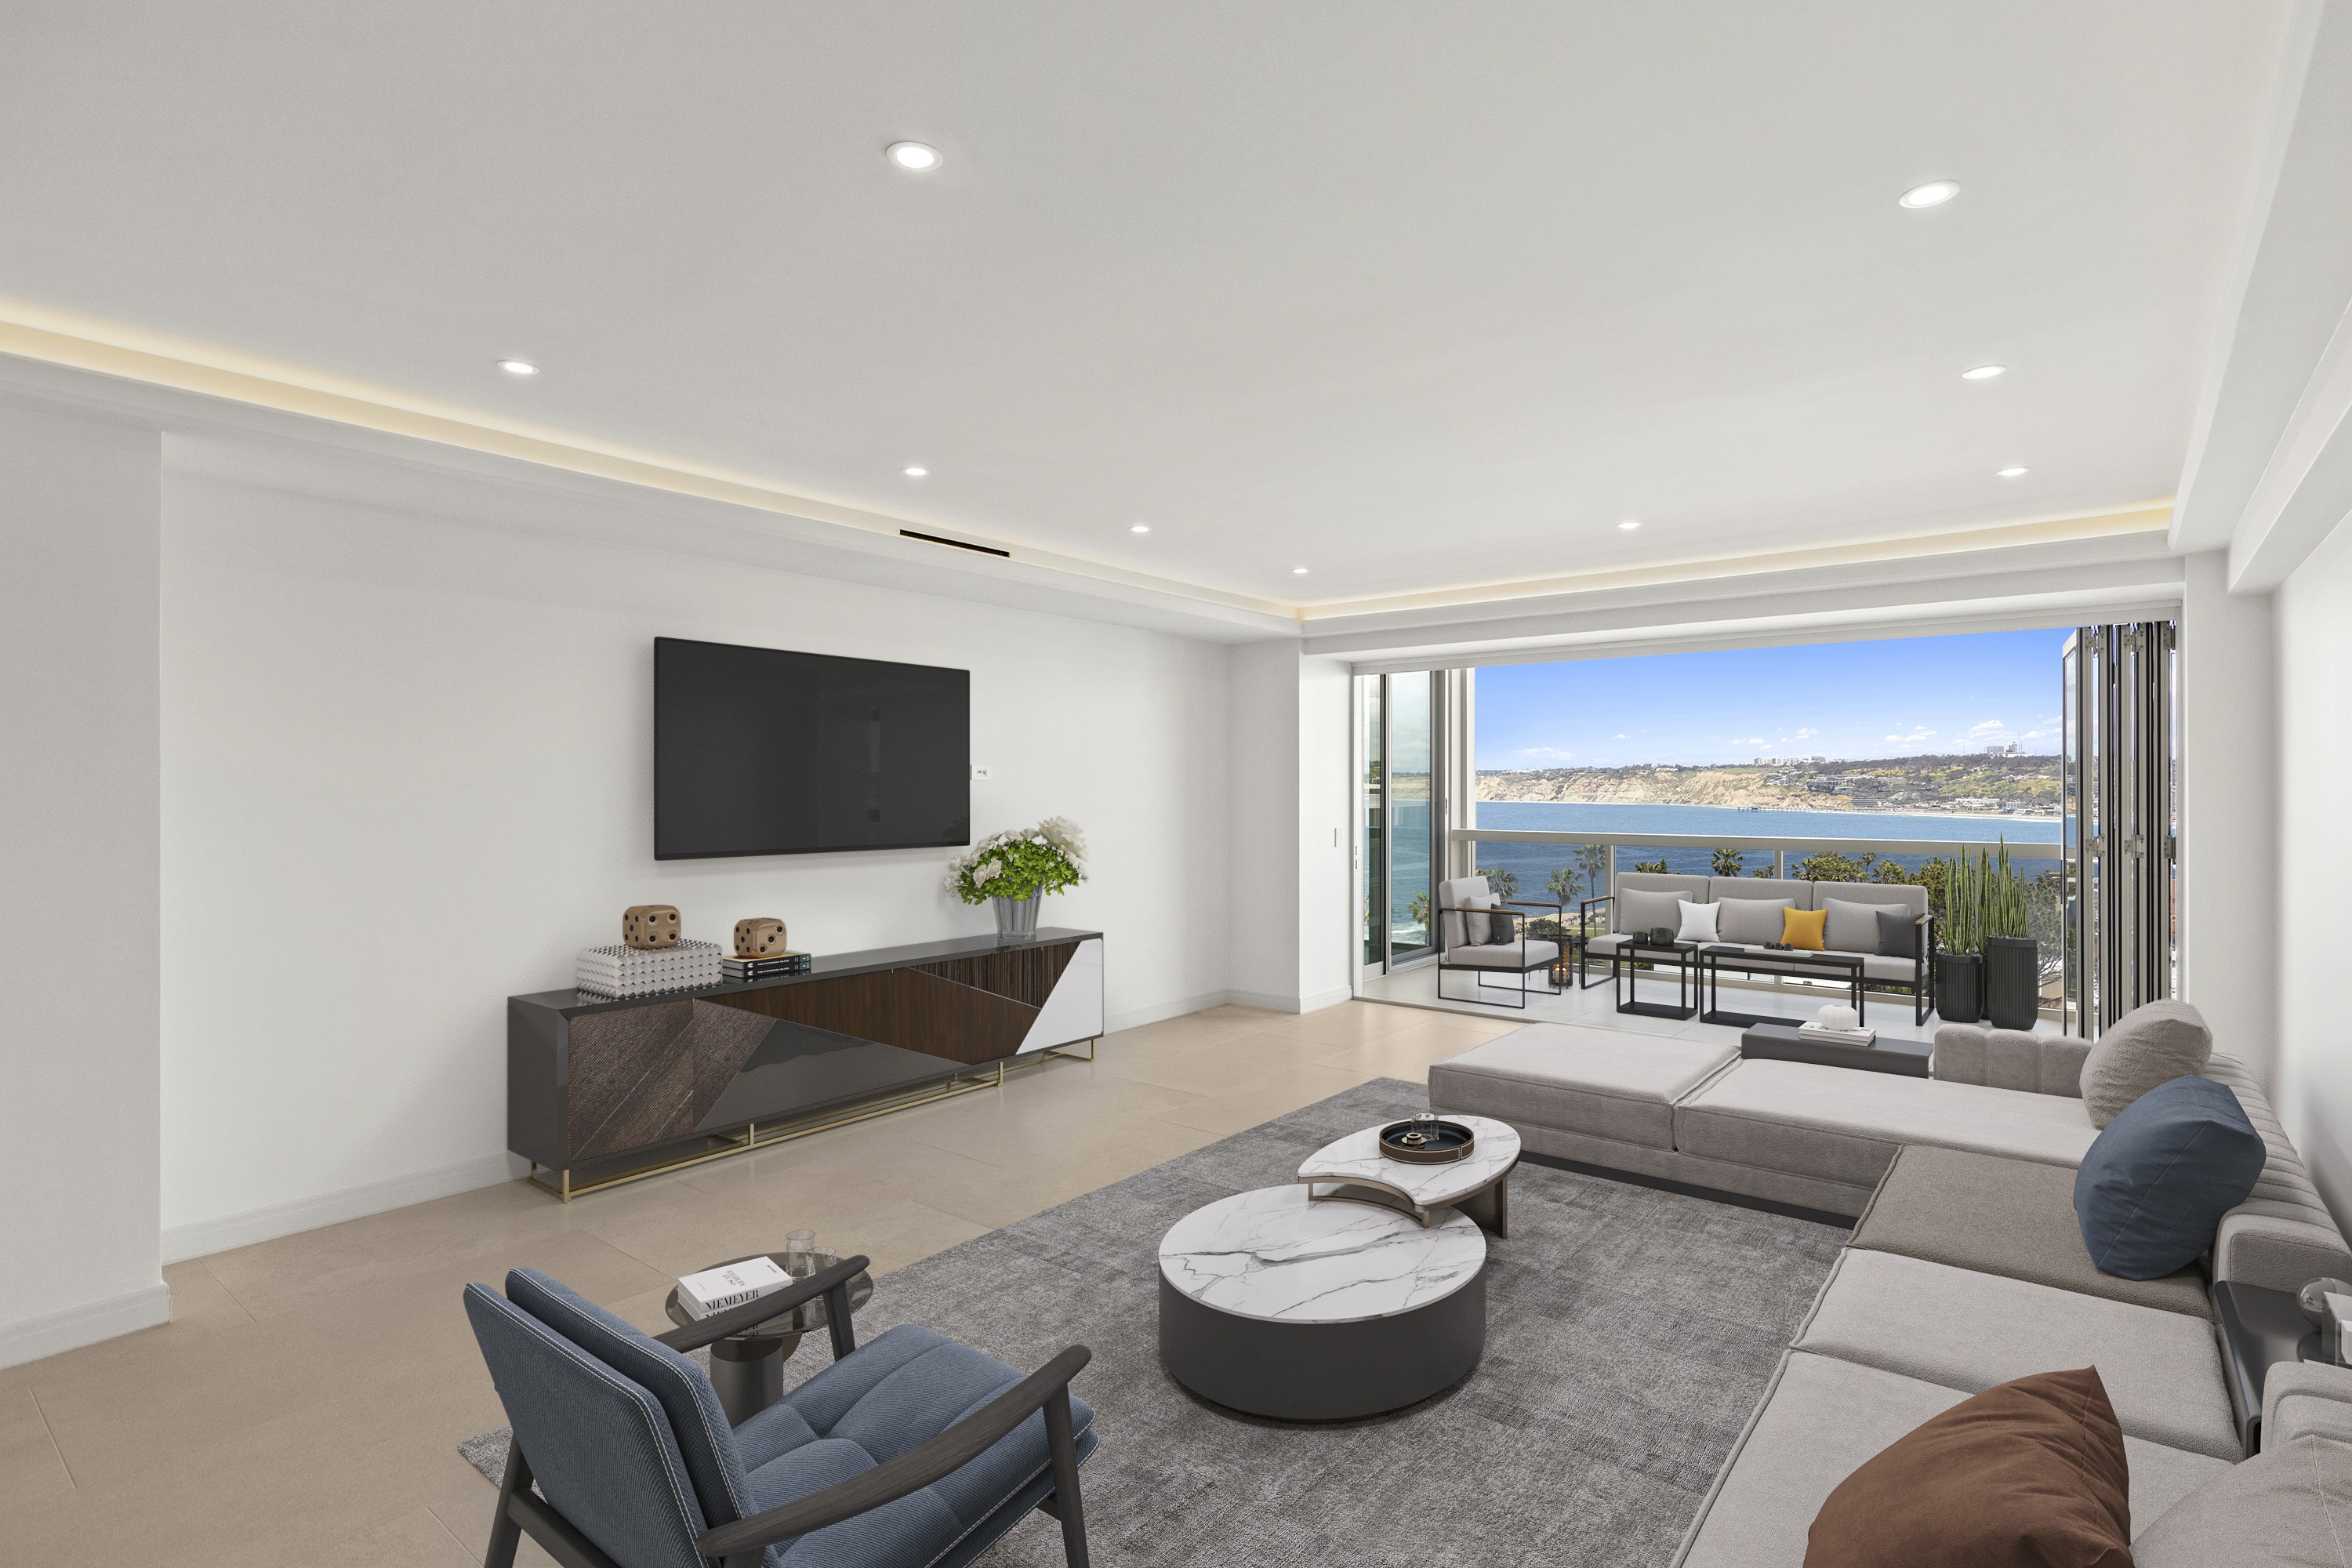
Big, bulky furniture can make a room look smaller. Opt for smaller pieces that complement the space. And here's a pro tip: arrange furniture to create 'conversation areas' that invite people in. It's all about creating a vision of a life that could be lived there.
The Devil's in the Details
Small details can have a big impact. Fresh flowers, a bowl of fruit, or a neatly stacked pile of books can make a place feel like home. These touches add life and warmth to your photos.
Don’t Forget the Exterior
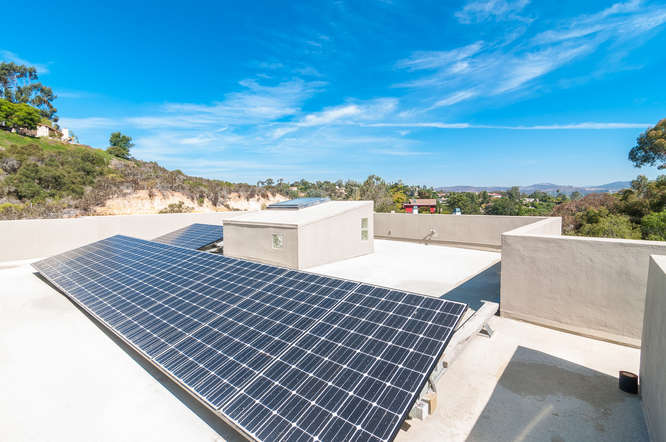
First impressions, remember? Spruce up the exterior. Mow the lawn, trim the hedges, and maybe add a few potted plants near the entrance. A welcoming exterior sets the tone for the rest of the home.
A Picture's Worth a Thousand Words
Quality matters. Use a good camera, and if photography isn't your jam, hiring a professional is worth every penny. They know all the tricks to make your space look its absolute best.
The Grand Finale
Wrap up your staging by stepping back and taking a good, hard look. Is there anything that stands out or looks out of place? Adjust, snap a photo, and voilà!
Frequently Asked Questions:
How important is lighting in listing photos?
Crucial! Good lighting can transform a space, making it look warm, spacious, and inviting.
Should I hire a professional photographer?
Suppose it's within your budget, yes. Professional photos can significantly increase the appeal of your listing.
Can too much staging be a bad thing?
Indeed, it can. Over-staging can make a home feel impersonal. Aim for a balance – staged yet lived in.
Wrapping It Up (But Not in the Traditional Sense)
There you have it – your roadmap to styling and staging your way to stunning listing photos. Remember, you're not just selling a space but a potential lifestyle. Make it count!
Before you dash off to declutter and decorate, remember that the goal is to create a welcoming, appealing space that sparks the imagination of potential buyers. With these tips, you're well on your way to making your listing the belle of the real estate ball.
Happy staging!


